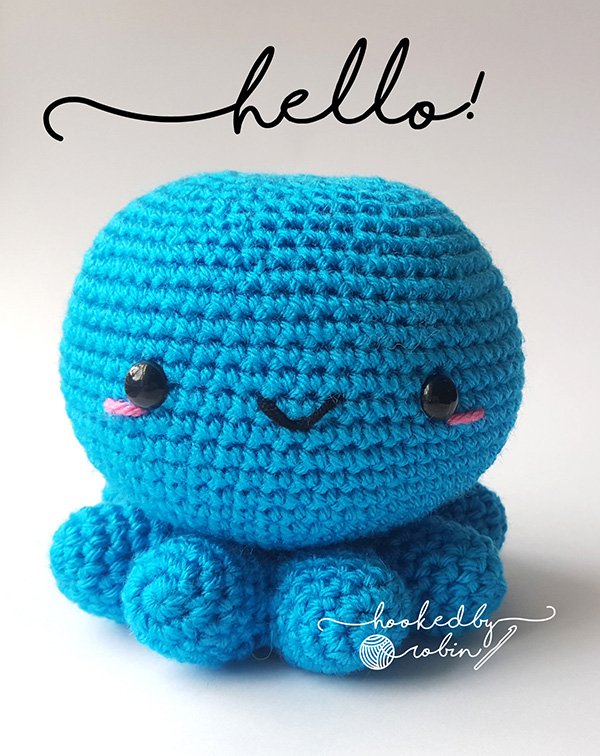
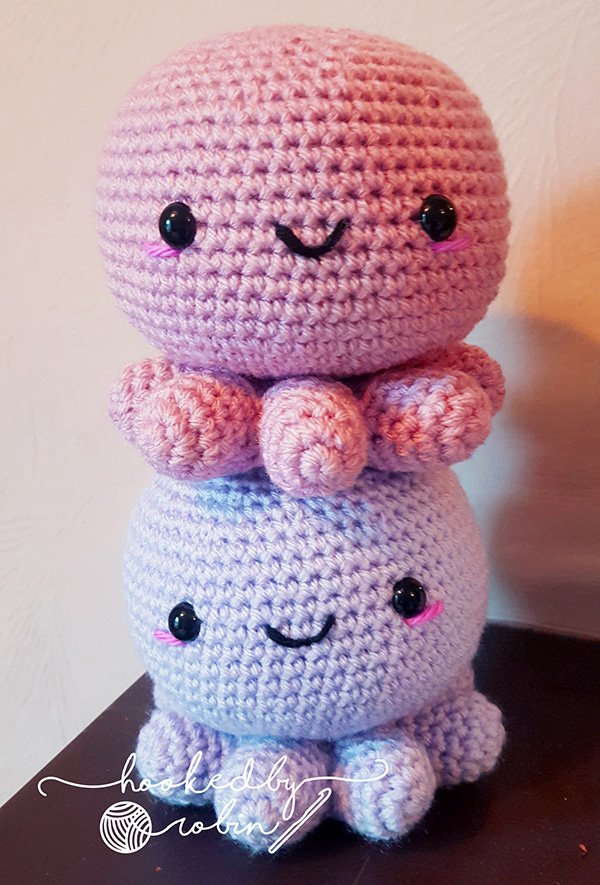
Amigurumi Crochet Octopus Pattern
*** You can purchase an INEXPENSIVE AD-FREE PDF of this pattern HERE 👈😊***
Crochet along using the video tutorial, written pattern or combination of both! Crocheted in almost one piece, there is ZERO sewing on of body parts which is fantastic as there is nothing worse than sewing on 101 different bits for amigurmi 😅
Full video tutorial
Amigurumi Chubby Octopus Written Pattern
(USA Stitch Terms)
Materials needed:
1 x 100g Cygnet Chunky - available HERE
A scrap of black & a scrap of pink yarn
4mm hook
12mm safety eyes
Stuffing
Stitch Marker
Needle
Scissors
Stitches used:
Magic ring / circle
Sc (single crochet)
Inc (increase = 2sc in same stitch)
Dec (decrease = 1sc over 2 stitches)
BLO (back loop only = work into the back loop of the stitch)
Repeat the pattern between the square brackets “[ ]” the number of times as shown by “X number”
The number in brackets “( )” at the end of each round is your total stitches that you will have worked in that round
Unless specifically instructed, work in spirals; do not join at the end of your rounds.
LEGS
MAKE SEVEN
Magic ring, 6sc (6)
[inc] x6 (12)
sc in each stitch around (12)
sc in each stitch around (12)
sc in each stitch around (12)
Cut yarn and weave in ends on all seven legs.
LEG EIGHT
Magic ring, 6sc (6)
[inc] x6 (12)
sc in each stitch around (12)
sc in each stitch around (12)
sc in each stitch around (12)
DO NOT CUT YARN – you are now going to join all the legs together.
For the next round (joining legs) you will be working into SIX stitches only on each leg.
6. sc in 6 stitches on each leg, ending with 6sc around leg EIGHT – for your last 6sc, count 6 stitches back from the original join so that you end in the correct place when crocheting on leg EIGHT (48)
7. BLO sc in each stitch around (48)
8. [dec] x24 (24)
9. [2sc, dec] x6 (18)
10. [1sc, dec] x6 (12)
11. [dec] x6 (6)
Cut yarn, thread needle and run through the outside loops of the last 6 stitches, pull tight then weave in.
TOP OF LEGS AND BODY
Flip leg section over.
You will now be crocheting into your unworked stitches on the legs.
To avoid having large gaps in you work where your legs join, you will be working a decrease stitch over the gap between the legs.
You may find you are not working a decrease into a proper full stitch, don’t worry, just ensure you attach the first part of your decrease into the leg you are currently on, and end the decrease on the adjacent leg.
If in doubt, you will see you have 6 obvious crochet stitches and half stitch / gaps either side. Work decreases into those gaps.
Count 6 full sc back on any leg and join your yarn to that stitch.
1. [6sc, dec over leg gaps] x8 (56)
2. [5sc, dec] x8 (48)
3. [dec] x24 (24)
4. [2sc, dec] x6 (18)
Lightly stuff the legs (legs only!)
The body is made using staggered increases to avoid the hexagonal increase lines you would normally find in standard circle increasing.
You may wish to use your stitch marker here if you aren’t already!
5. [2sc, inc] x6 (24)
6. [3sc, inc] x6 (30)
7. 2sc, inc, [4sc, inc] x5, 2sc (36)
8. [5sc, inc] x6 (42)
9. 3sc, inc, [6sc, inc] x5, 3sc (48)
10. [7sc, inc] x6 (54)
11. 4sc, inc, [8sc, inc] x5, 4sc (60)
12. sc in each stitch around (60)
13. sc in each stitch around (60)
14. sc in each stitch around (60)
15. sc in each stitch around (60)
16. sc in each stitch around (60)
17. sc in each stitch around (60)
18. sc in each stitch around (60)
19. sc in each stitch around (60)
20. sc in each stitch around (60)
21. sc in each stitch around (60)
Place safety eyes between Rows 16 & 17, 10 stitches apart
22. 4sc, dec, [8sc, dec] x5, 4sc (54)
23. [7sc, dec] x6 (48)
24. 3sc, dec, [6sc, dec] x5, 3sc (42)
25. [5sc, dec] x6 (36)
26. 2sc, dec, [4sc, dec] x5, 2sc (30)
27. [3sc, dec] x6 (24)
28. [2sc, dec] x6 (18)
Stuff the body
29. [1sc, dec] x6 (12)
30. [dec] x6 (6)
Cut yarn, thread needle and run through the outside loops of the last 6 stitches, pull tight then weave in.
Embroider the face with your pink and black scraps of yarn and you are done!
Happy Crocheting! Robin x


