Amigurumi Tiny Bee [Free Video Tutorial & Written Pattern!]
*** You can purchase an INEXPENSIVE AD-FREE PDF of this pattern HERE 👈😊***
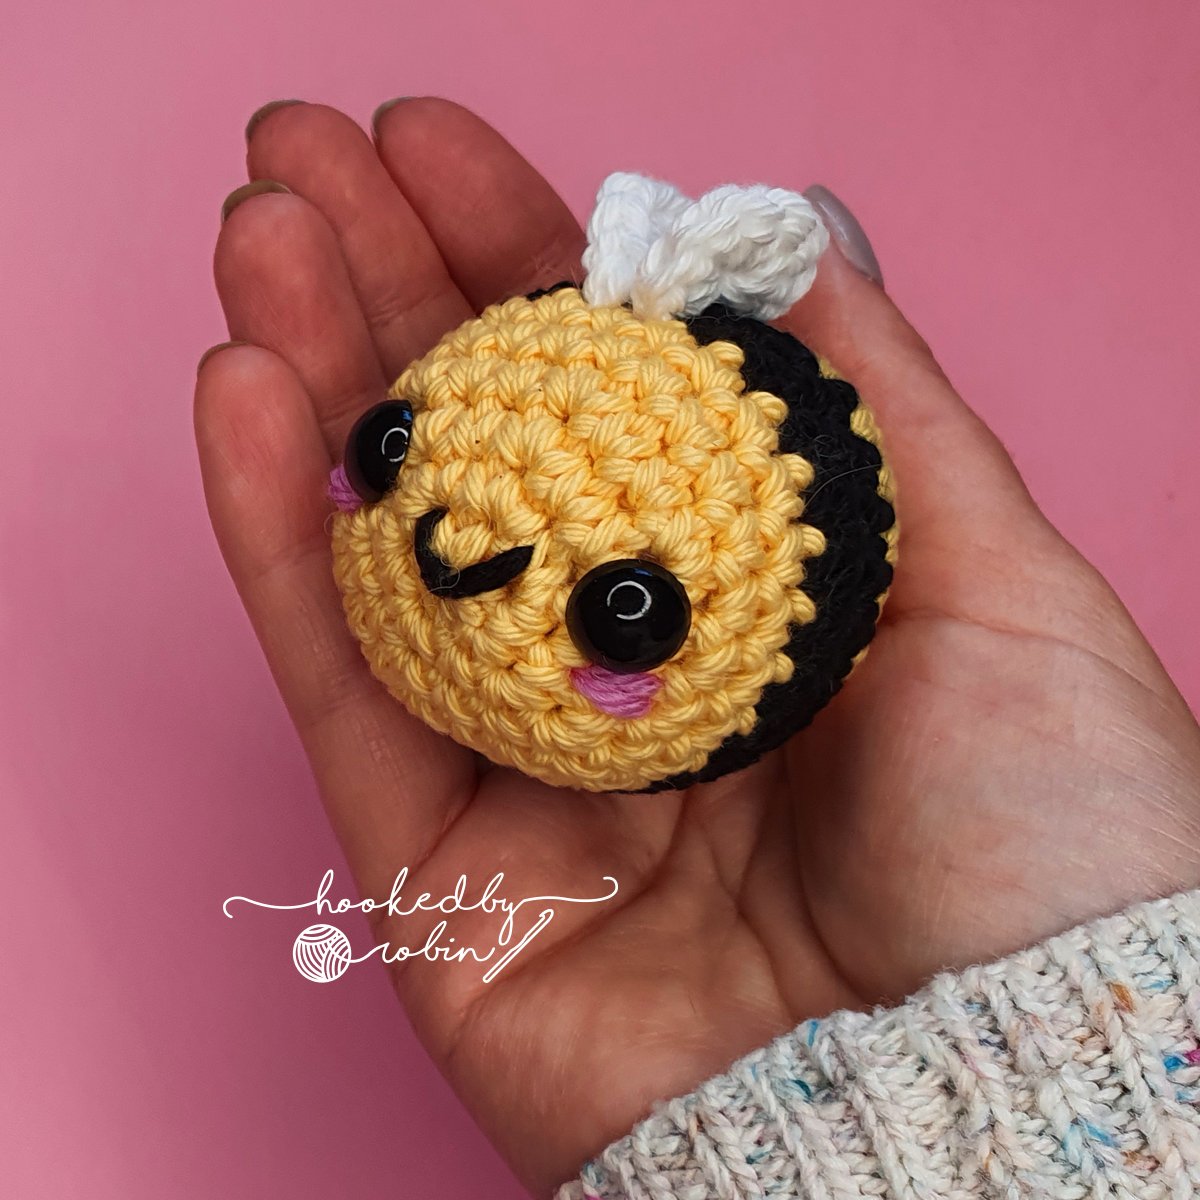
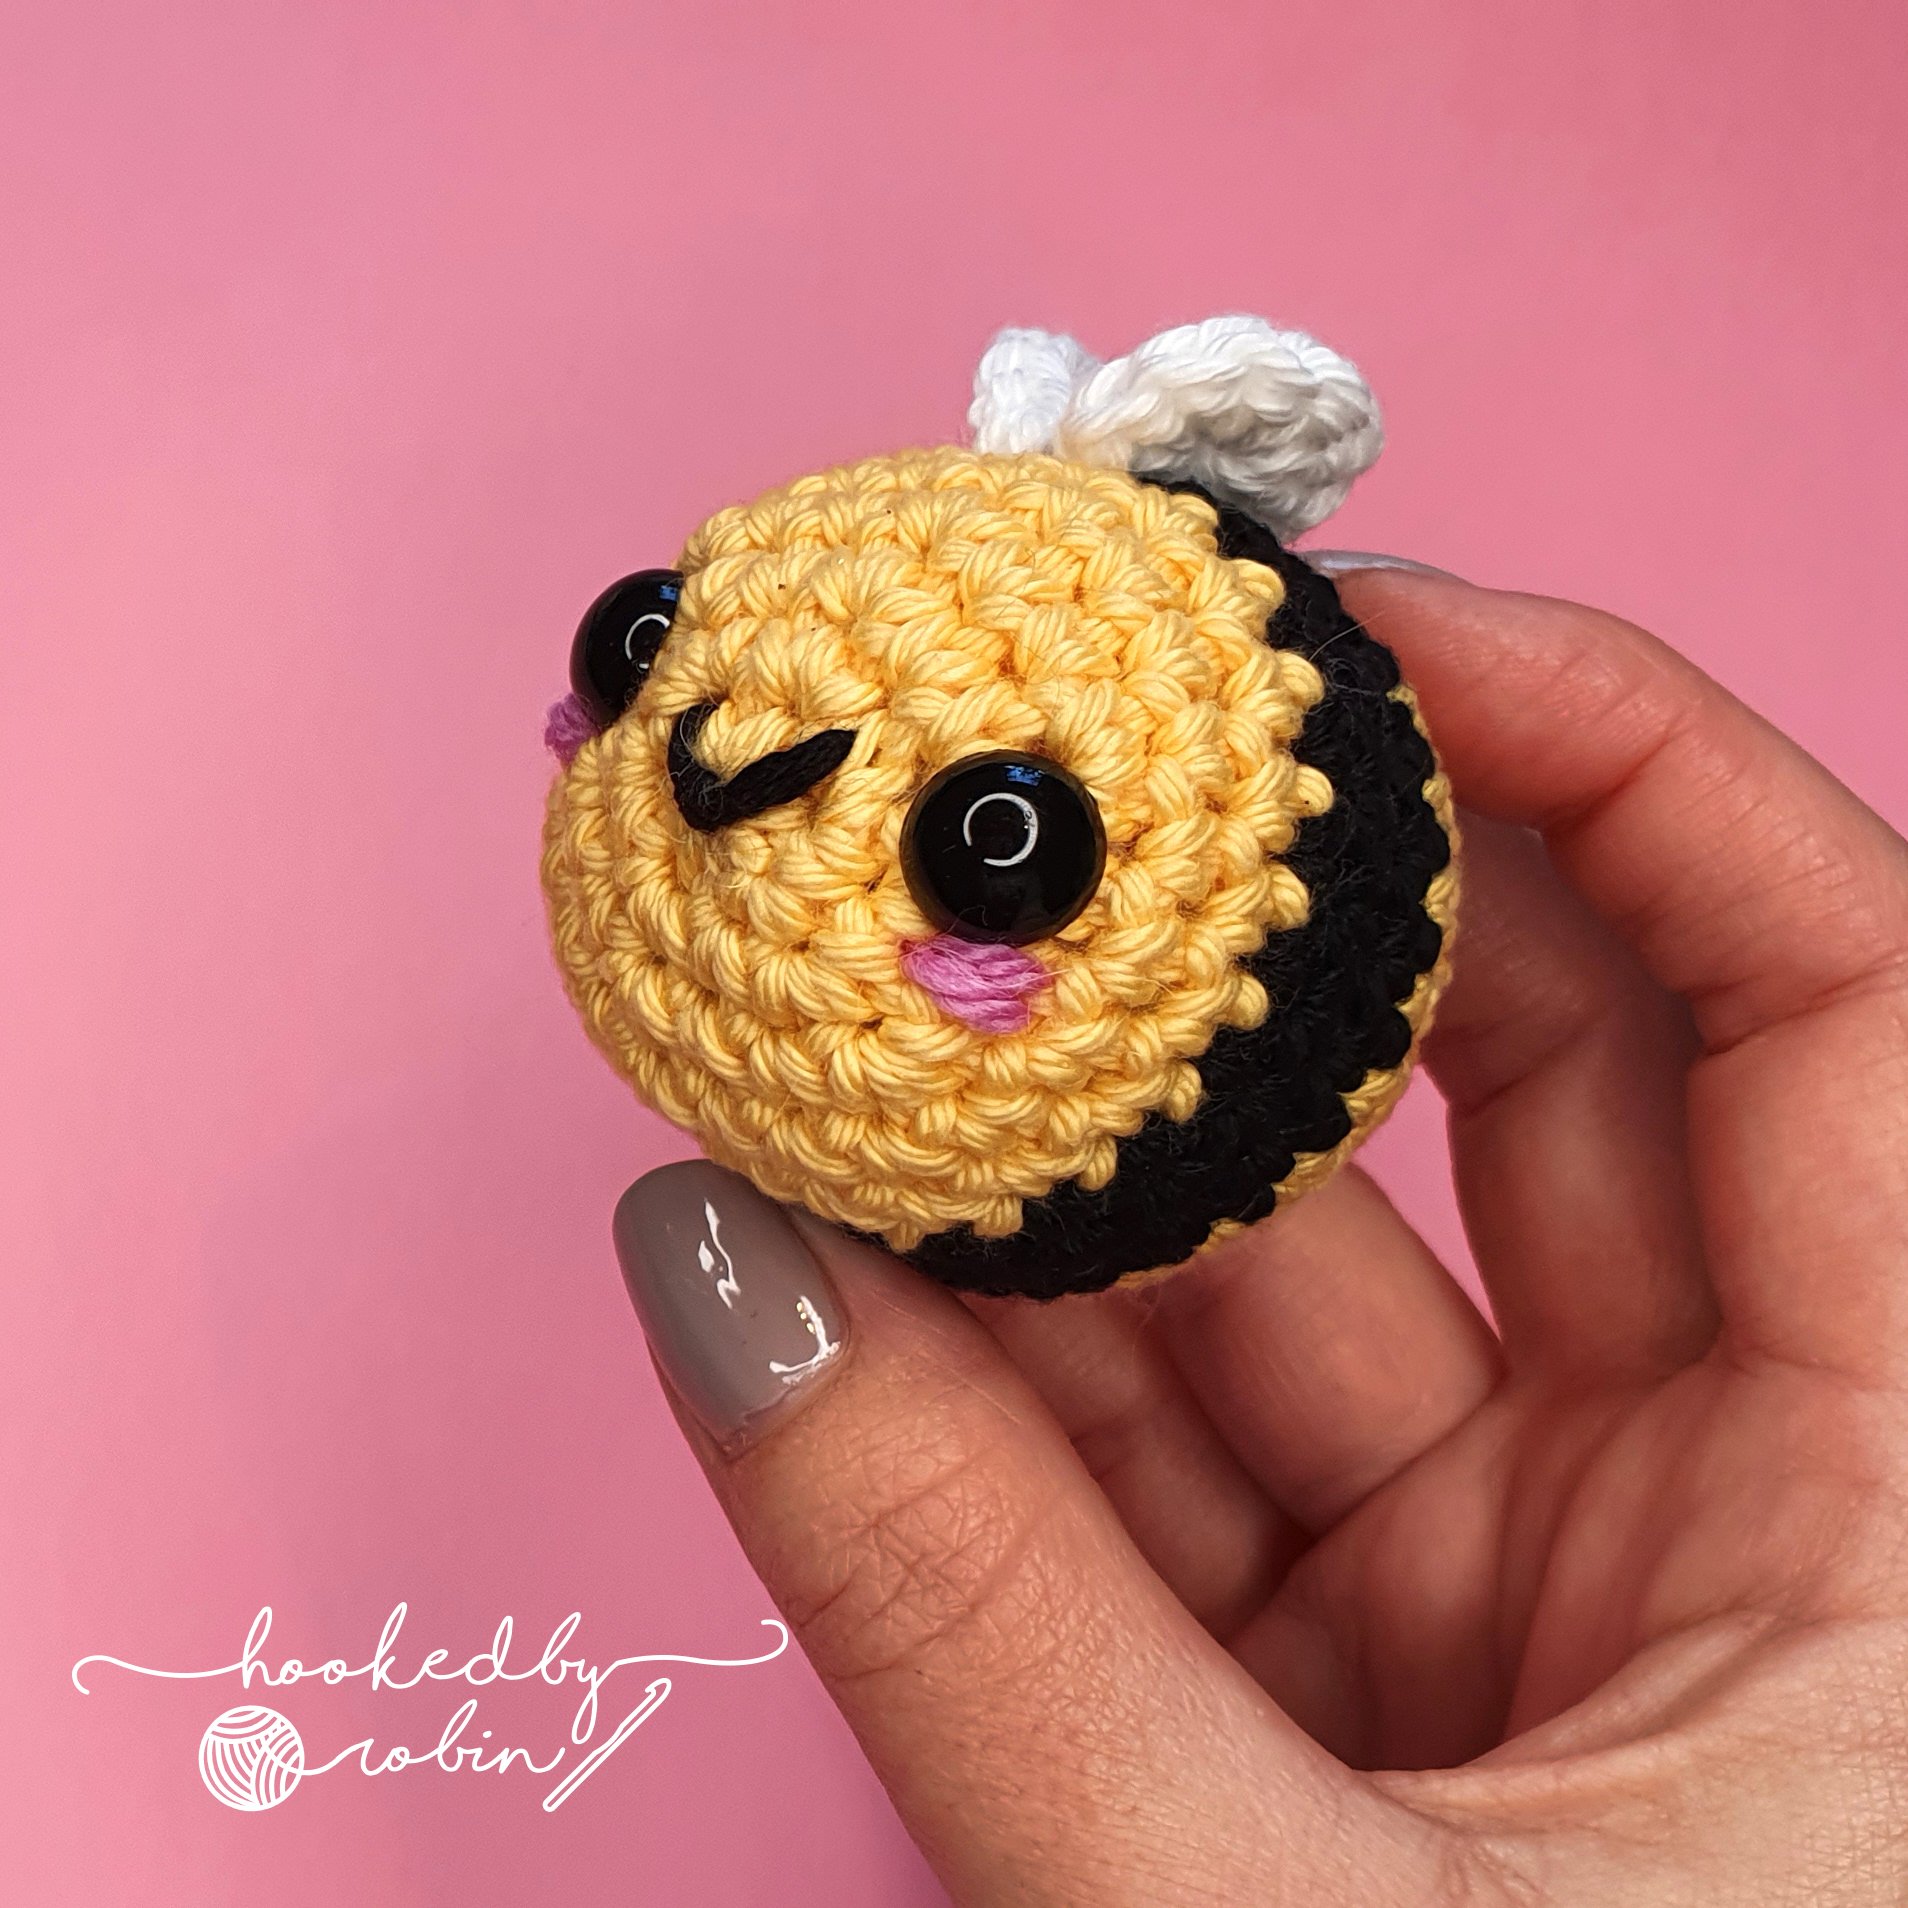
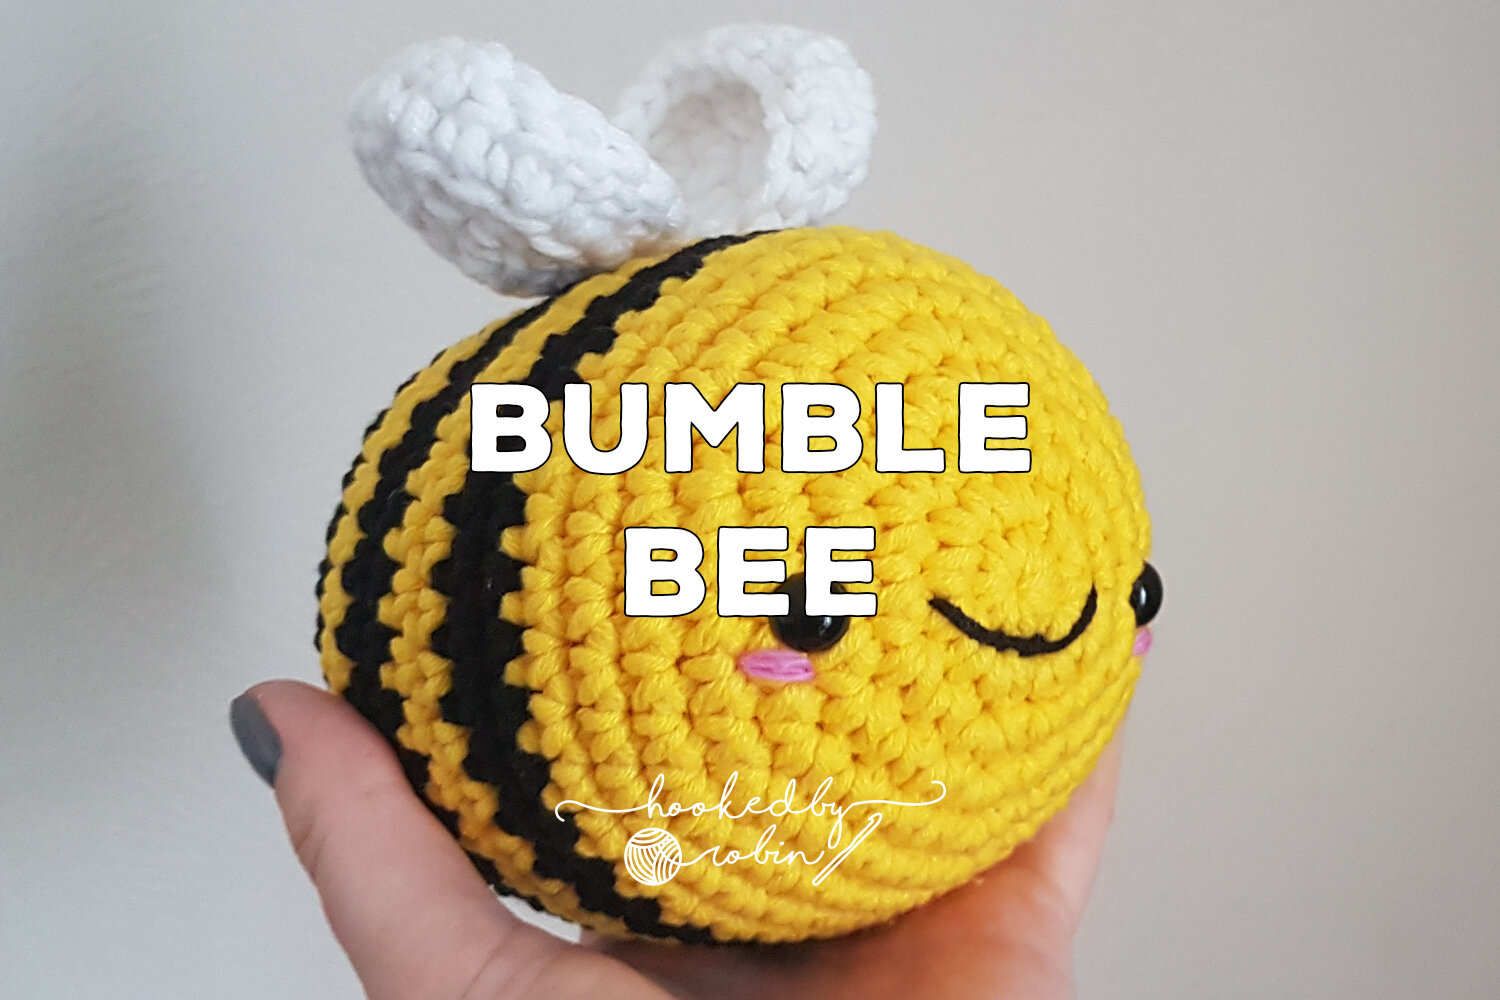
Crochet along with me to make yourself a mini amigurumi bumble bee - super simple and easy enough for even a beginner to make. Are you ready to make your new miniature buzzy friend?
Watch the full step by step video tutorial below or alternatively, keep scrolling for the written pattern :)
Pin for later
Amigurumi Tiny Bumblebee WRITTEN PATTERN
USA STITCH TERMS
Hook Size(s): Smaller than your yarn recommends to keep your stitches tight.
I made my tiny bee with Stylecraft Classique Cotton with a 3.5mm Crochet Hook. I used Yellow, black and white for the wings Scrap of pink and black yarn for the face.
Other Materials:
10mm Safety Eyes
Bit of stuffing
Large eye needle for weaving in ends and sewing wings to the body.
Stitch Marker
Abbreviations:
• Ch = Chain
• SC = Single Crochet
• Rep = Repeat
• St = Stitch
• Sl St = Slip Stitch
SPECIAL STITCH:
SPECIAL STITCH: Invisible SC Decrease: Insert hook in the front loop only of first st, Insert hook in the front loop only of the next st, YO pull through both front loops. YO pull through final loops on hook.
Start with main colour (body of the bee : Yellow)
Foundation: Create a magic ring. Place 6 SC in ring.
Round 2: 2SC in first st
(Place stitch marker in first SC)
2SC in each st around. (12 SC)
Round 3: SC in first st
(Move Stitch Marker into first SC)
Repeat 2SC in next st, SC in next around. (18 SC)
Round 4: SC in first 2 sts
(Move Stitch marker into first st made)
Repeat 2SC in next st, SC in next 2 sts around. (24 SC)
Rounds 5-6: SC in first st.
(Move Stitch marker into first st made)
SC in each st around. (24 SC)
Grab new colour for bee stripe. (Black)
Rounds 7-9: SC in first st.
(Move Stitch marker into first st made)
SC in each st around. (24 SC)
Grab main colour. (Yellow)
Rounds 10-11: SC in first st.
(Move Stitch marker into first st made)
SC in each st around. (24 SC)
Now is a good time to place your safety eyes. I placed my eyes between my 3rd and 4th rounds.
Round 12: SC in first 2 sts.
(Move Stitch marker into first st made)
Repeat Invisible SC Decrease over next 2 sts, SC in next 2 sts around. (18 SC)
Round 13: SC in first st, Grab colour for bee stripe. (Black)
(Move Stitch marker into first st made)
Repeat Invisible SC Decrease over next 2 sts, SC in next st around. (12 SC)
Grab stuffing, and fill your bee.
Round 14: Repeat Invisible SC Decrease over next 2 sts around. (6 SC)
Cut yarn leaving a long tail.
Thread tail through yarn needle, run the needle through the outside loop in the remaining 6 sts. Pull tight to cinch the opening closed.
Weave in loose ends.
Mouth
Where you can see your colour changes, that will be the bottom of your bee.
For the mouth use black yarn, and thread through yarn needle. Insert needle from the side (near your eye placement)
Pop the needle out in the area you want to place the mouth. (Leave a bit of a tail hanging out of the side.)
Take a straight line to where you want the mouth to finish. Don’t pull tight just yet.
Bring needle underneath the loop, and go through the same space, and bring needle through to the other side leaving a long tail.
Secure and weave in ends.
Cheeks
For the cheeks use pink yarn, and thread through yarn needle. Insert needle from the side (near your eye placement)
Pop the needle out in the area you want to place the Cheek. (Leave a bit of a tail hanging out of the side.)
I placed two lines right below the eye.
Bring needle through to the other side, placing lines under the other eye.
Bring needle through to the other side of the body leaving long tail. Secure and weave in ends.
Wings
Foundation: Create magic ring. Place 8 SC in ring. Ch 1, tie off leaving long tail.
Carefully pull magic ring tight.
This creates half your wing.
Repeat for second wing.
Find where you want to place your wings.
Use the tail from the magic ring, and thread through needle.
Insert needle where you want your wing to go. Bring needle all the way down through the body.
Repeat for the second wing.
Use long tails to sew wings into place.
Once sewn, draw the remaining tail down through the body of the bee.
Weave in all tails.
If you spot any errors in the written pattern please do let me know.
Happy Crocheting!
Robin


![Amigurumi Tiny Bee [Free Video Tutorial & Written Pattern!]](https://images.squarespace-cdn.com/content/v1/5e18a0efb9904526f1bedb80/1667224194870-PCFJSJBK8JFATGPCF5IW/blog+tiny+bee.jpg)


![Crochet Tiny Heart [Free Video Tutorial & Written Pattern!]](https://images.squarespace-cdn.com/content/v1/5e18a0efb9904526f1bedb80/1667224792087-FP8KSCC5997R7X04V9PU/blog+tiny+heart.jpg)
![Crochet Gingham Blanket [Free Video Tutorial & Written Pattern!]](https://images.squarespace-cdn.com/content/v1/5e18a0efb9904526f1bedb80/1668029215489-VZJRQNWBZTRZ0VPW0GD8/blog_gingham_blanket.jpg)


![Amigurumi Crochet Ghost Pattern [Free Video Tutorial & Written Pattern!]](https://images.squarespace-cdn.com/content/v1/5e18a0efb9904526f1bedb80/1726753159173-EJSS57VX39SWL56RYTFQ/Blog+amigurumi+ghost.jpg)