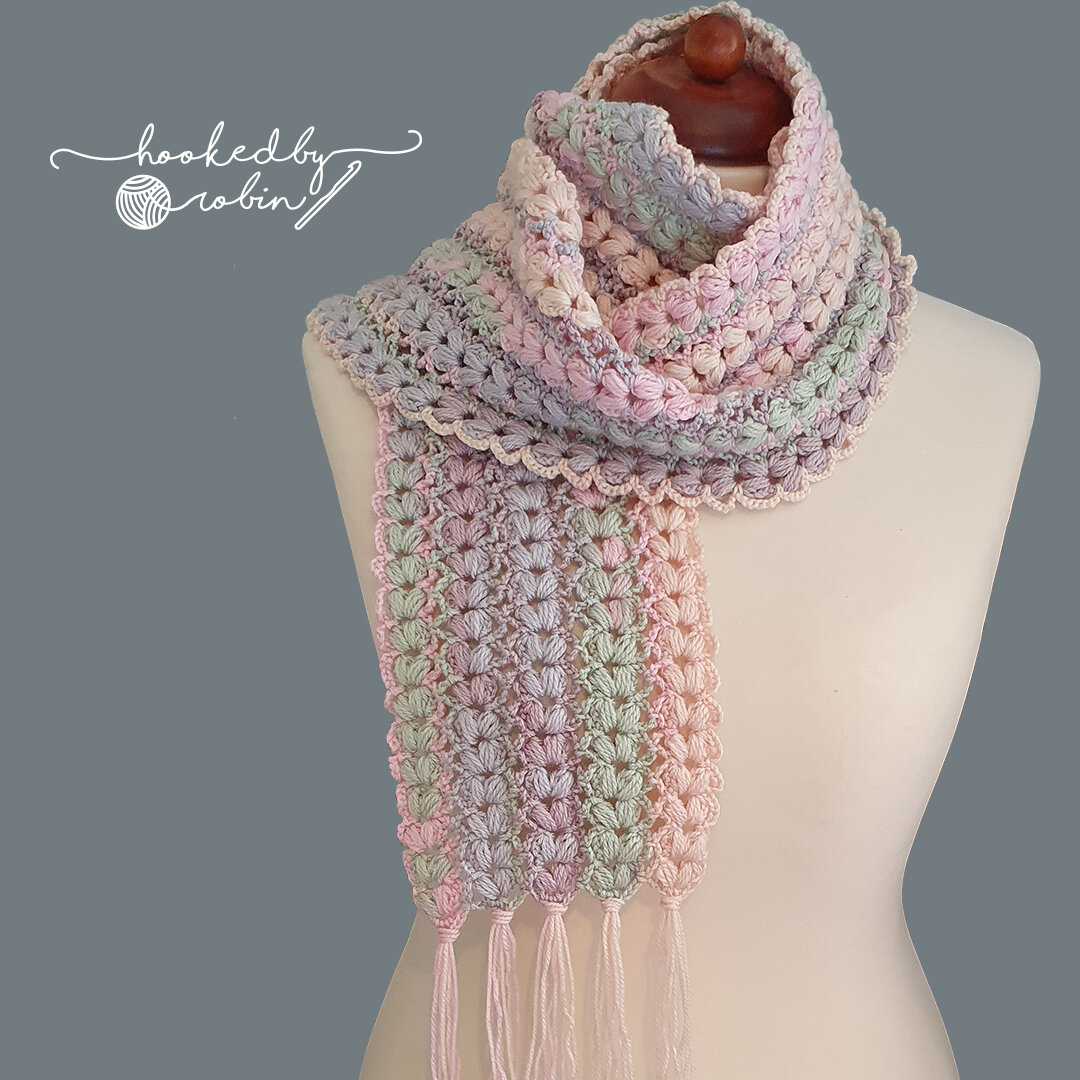
Crochet Puff Stitch Mile A Minute Scarf
*** You can purchase an INEXPENSIVE AD-FREE PDF of this pattern HERE 👈😊***
Learn how to crochet a beautiful Puff Stitch Mile-A-Minute scarf. This is a fantastically soft, squishy scarf which looks delicate and lacy - definitely an eye catcher!
This is definitely one of those patterns that looks complicated but is very simple - looking for something different? Then this pattern is the one for you 😀
FULL VIDEO TUTORIAL
WRITTEN PATTERN - USA STITCH TERMS
Yarn: 2 balls of King Cole Beaches DK Yarn in the colourway "Beach Melba" - available to purchase here: BUY YOUR KING COLE YARN
Hook Size: 4.5mm
Abbreviations:
· Ch = Chain
· SC = Single crochet
· Sl st = Slip stitch
· Rep = Repeat
· Ch sp = Chain space
· St = Stitch
Special Stiches:
Puff Stitch = (yarn over, insert hook, pull up a loop) four times for nine loops on the hook, yarn over and pull through all nine loops and chain one.
Pattern for Scarf:
Foundation Row: start with 5 ch and sl st to join.
Row 1: Ch 2 and make 1 puff st, ch 3, 1 puff st in the ring.
Row 2: Turn and sl st to reach the ch sp. Ch 2 and make (1 puff st, ch 3, 1 puff st) in the ch sp.
Rows 3-106: Rep row 2. You can make as many rows as you want, according to how long you’d like your scarf to be.
Row 107 (edging along the side of the first strip): Turn and sl st to reach the ch sp. Ch 1 and make 2 SC in the ch sp. Ch 7, turn and sl st between the puff st.
Rep *ch 7, sl st between two puff st* all along the side.
At the end, ch 7 and make 2 SC in the ring of the foundation row. Ch 7, turn and sl st between the puff st.
Rep *ch 7, sl st between two puff st* all along the other side.
To finish the row, ch 7 and sl st to join. Fasten off and cut the yarn (you can leave a long tail to incorporate into the fringe).
Row 107 (edging along the side of the second strip to join with the first): Turn and sl st to reach the ch sp. Ch 1 and make 2 SC in the ch sp. Ch 3 and sl st into the ch 7 sp of the first strip.
Rep *ch 3, sl st between two puffs of the second strip, ch 3, and sl st in the corresponding ch 7 sp of the first strip* all across, joining the two strips as you go.
At the end, ch 3 and make 2 SC in the ring of the foundation row.
For the other side of the second strip, rep * ch 7, sl st between two puff st* across.
To finish the row, ch 7 and sl st to join.
Fasten off and cut the yarn (you can leave a long tail to incorporate into the fringe).
Make as many strips as you want, according to how wide you want the scarf to be. Join each subsequent strip as you did for the second strip.
My personal scarf has five strips 😊
If you spot any errors in the written pattern please do let me know.
As always you are free to sell any scarves you may make from this pattern 😊
Happy Crocheting!
Robin


![Crochet Puff Border Shawl [Free Video Tutorial & Written Pattern!]](https://images.squarespace-cdn.com/content/v1/5e18a0efb9904526f1bedb80/1664792130221-RU9FGND6IC1O4705SERA/blog+puff+edge+shawl.jpg)
![Crochet a Simple Shell Stitch Scarf [Free Video Tutorial & Written Pattern!]](https://images.squarespace-cdn.com/content/v1/5e18a0efb9904526f1bedb80/1725188166702-EB9T9OSTCIP2RLQS9KXF/BLOG+shell+scarf.jpg)